Guide 3.3: Customizing the Feedback Page
The Feedback Page is where negative or unhappy customers are directed after they rate your service 3 stars or less in the star rating system or select the sad emoji in the reaction-based rating system. This guide will help you customize the Feedback Page to gather constructive feedback and provide ways for customers to contact you directly.
Step-by-Step Guide
Step 1: Access the Feedback Page Customization
Click on the Feedback option in customization section.
Step 2: Customize the Text
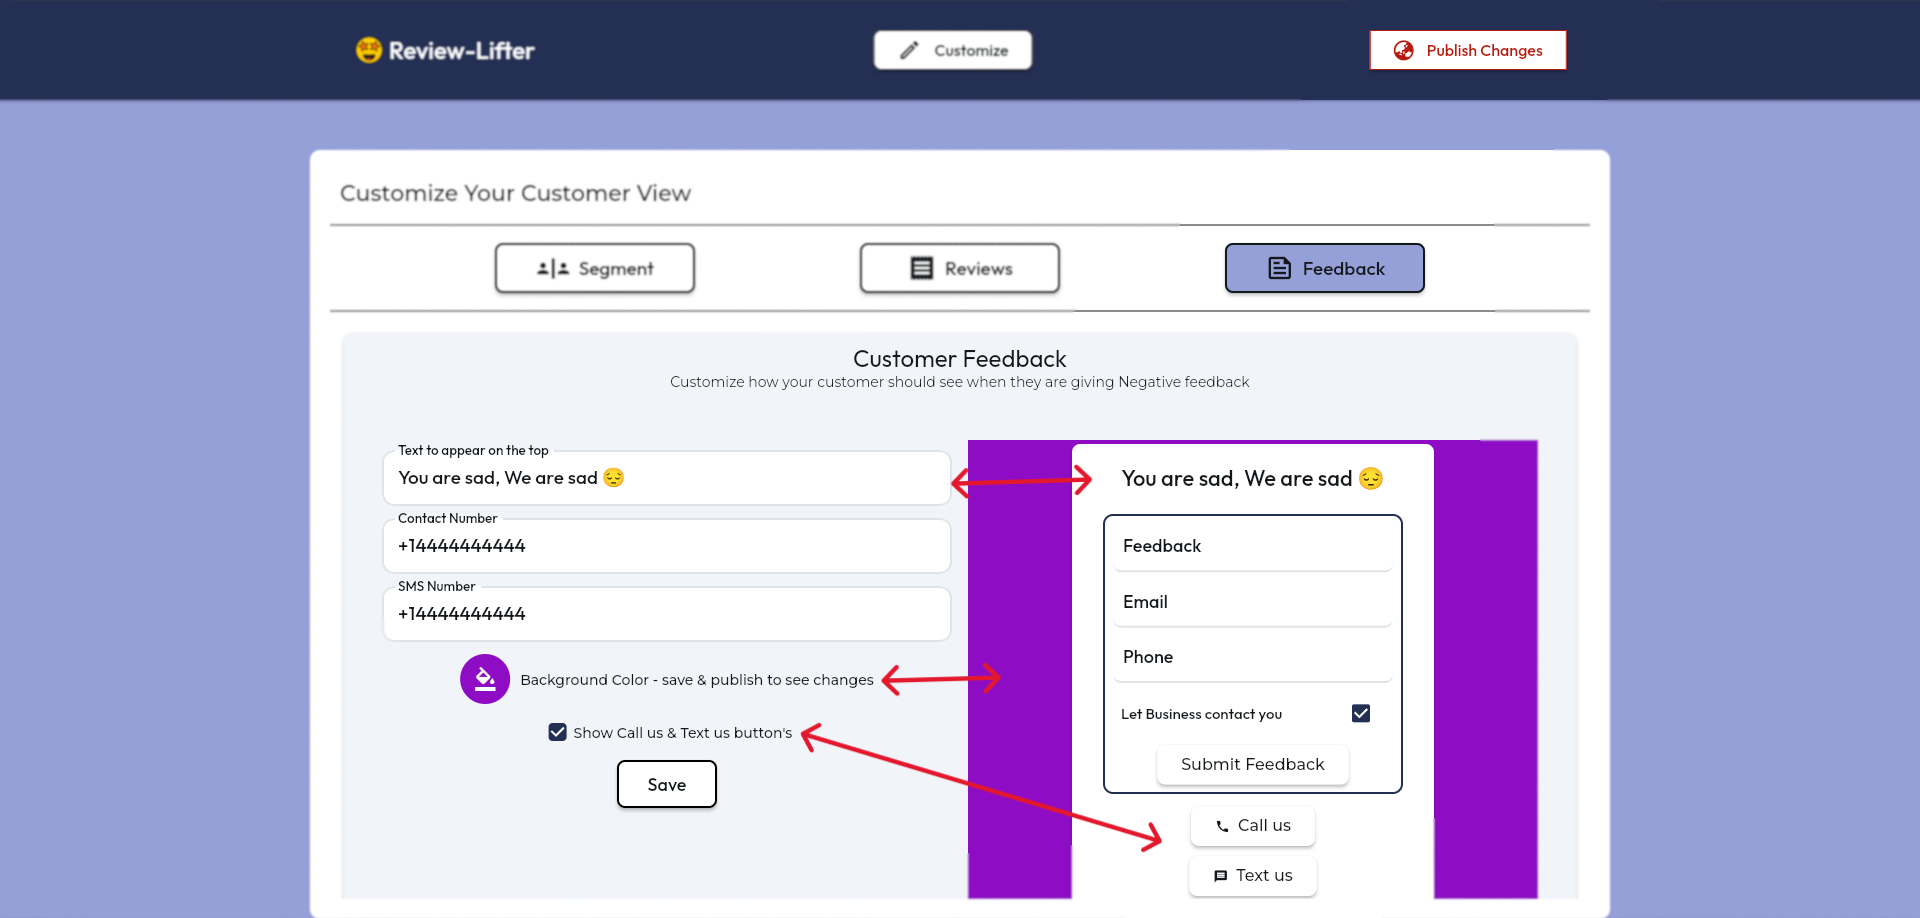
Add a message at the top of the page that acknowledges the customer's dissatisfaction and invites them to share their feedback. Examples include "What can we do better?" or "You are sad, we are sad."
Step 3: Add Contact Options
- Phone Number: Enter a phone number that customers can call to provide immediate feedback.
- SMS Number: Enter a number that customers can use to text their feedback.
You can choose to show or hide these call or SMS buttons by checking or unchecking the appropriate option.
Step 4: Feedback Fields
The page automatically includes fields for customers to enter their feedback, email, and phone number.
Step 5: Customize Background Color
To ensure the page matches your brand's look and feel, add a background color. Click on the color icon and either enter the hex code for your brand color or choose from the color widget.
Step 6: Save Changes
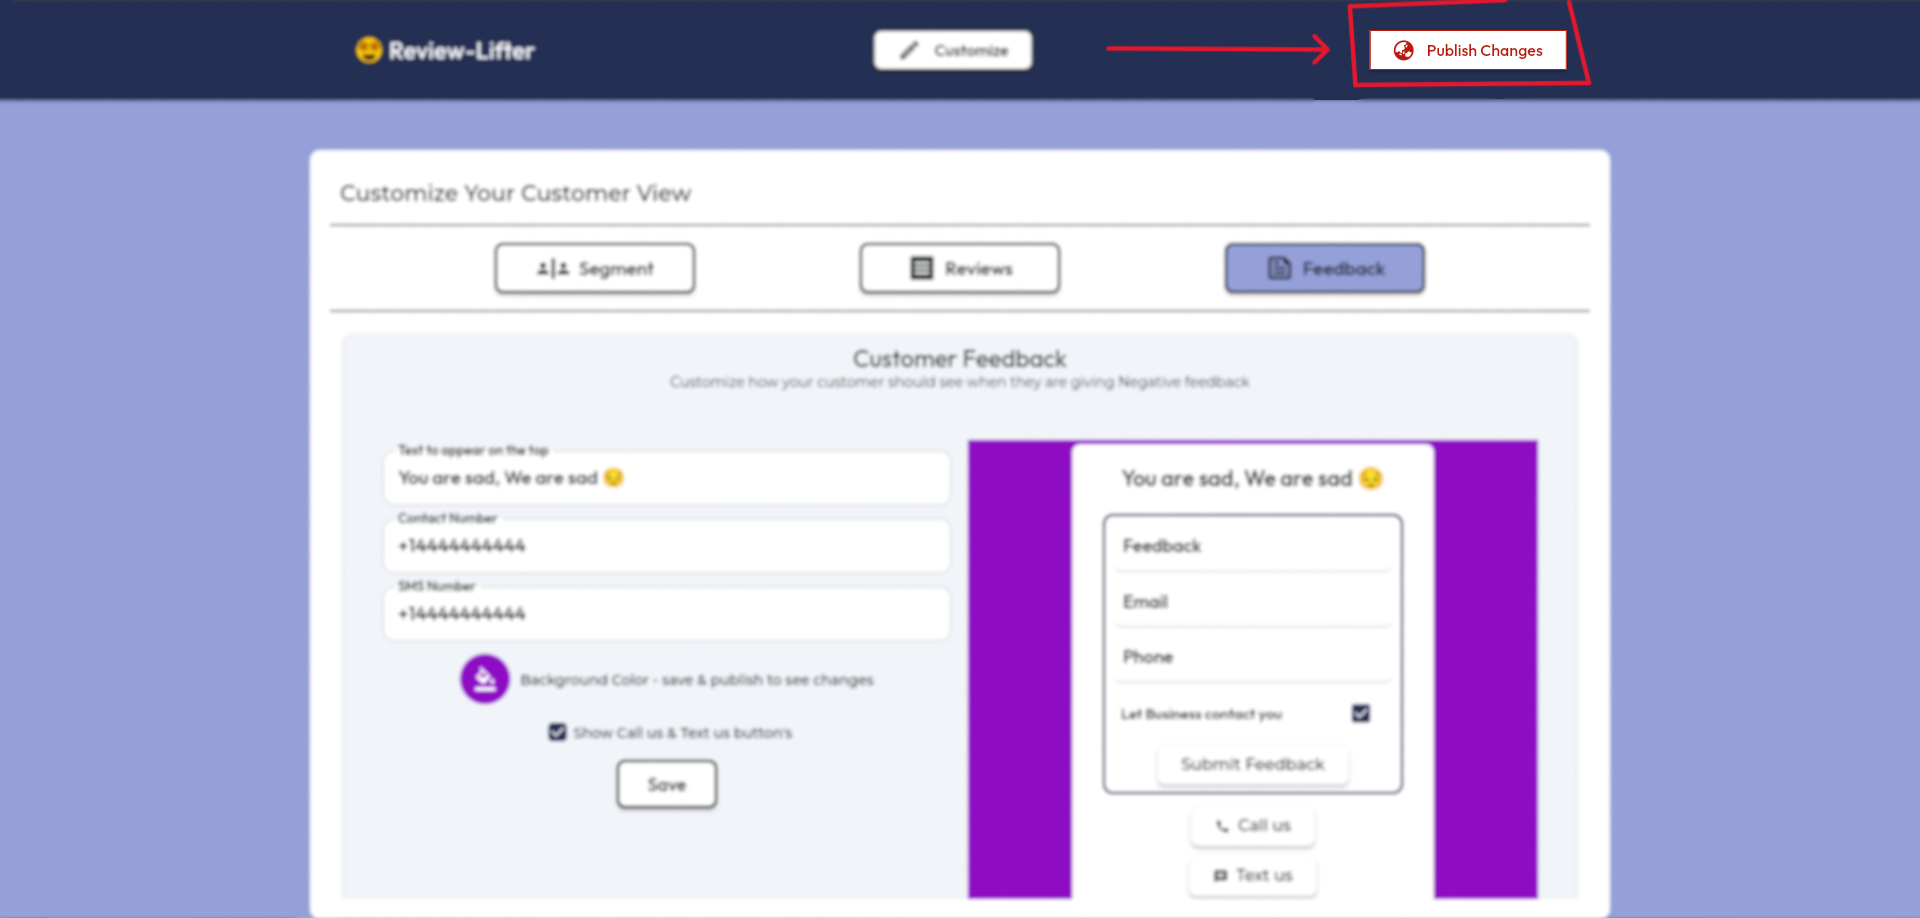
After customizing the text, contact options, and background color, click the "Save" button to apply your changes. Remember, if you don't click save, your changes will not be saved.
Finalizing Your Customizations
Publish Changes
After saving all three sections of the Customer View, you will see a "Publish changes" option at the top. Click this to make your review link live.
Add Business Logo
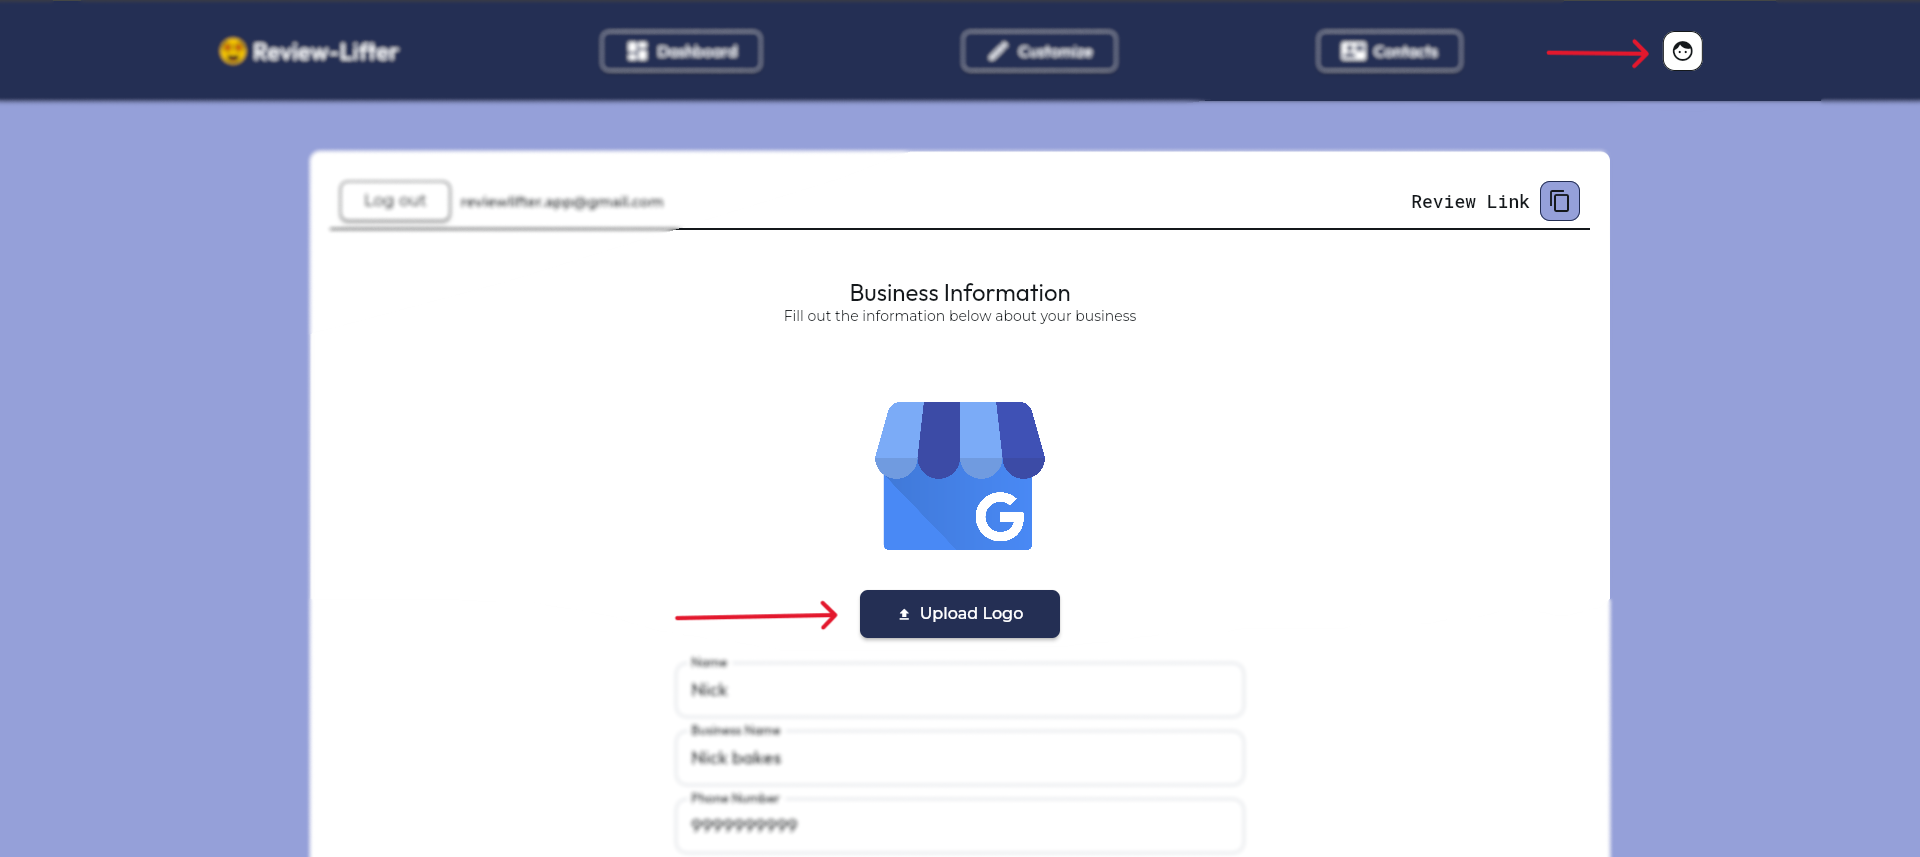
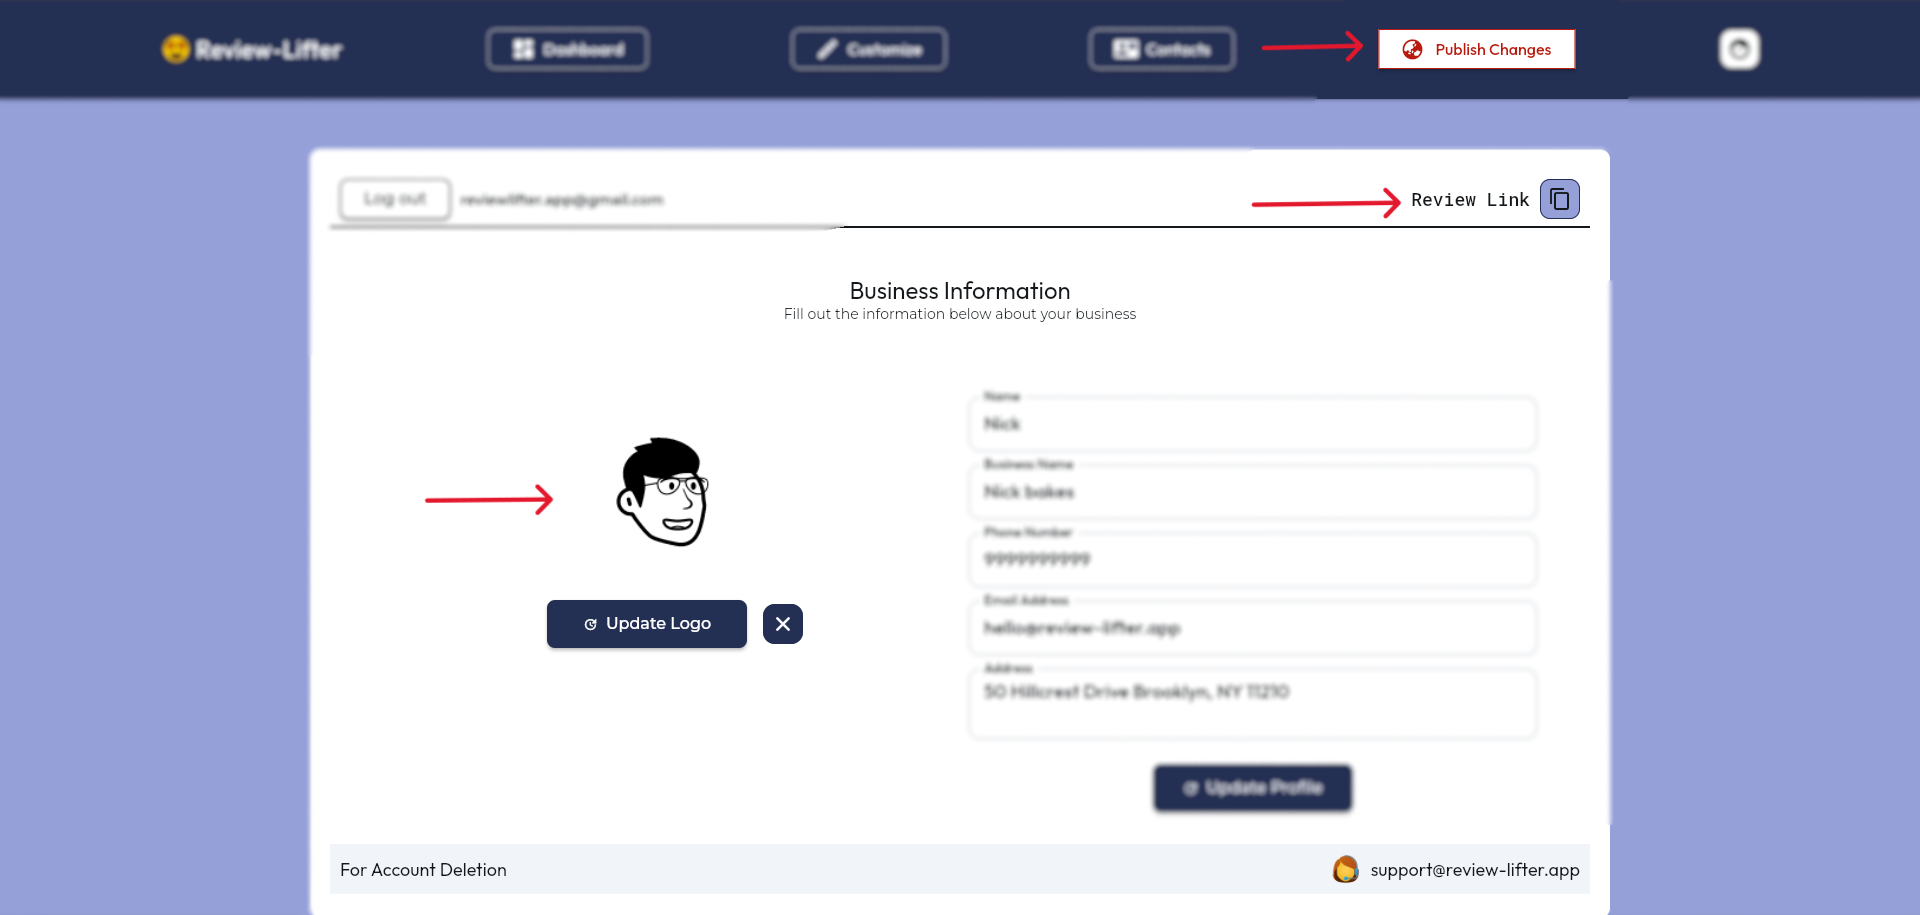
If your company has a logo, go to the profile page to upload it. Click on "Upload logo" and once done, click the "Publish changes" button on top to make your business logo appear on the review link.
Copy and Share Your Review Link
Once everything is set up, you can copy your review link from the profile page and paste it into a browser to see your live link. Share this link with your customers to start collecting reviews.
Next Steps:
Customer Contacts and Email Requests: After your review link is live , you can start adding your customer contacts and send email requests.
Guide 4 : Customer Contacts and Email Requests